Today I’d like to sho w you how to make your work easier by creating whats called an Action. Actions are simply little scripts that tell Photoshop to perform a pre-defined set of tasks.
For example, lets say that you have lots of images that you want to turn from color to black and white. Rather than performing the same task over and over again, you can make an Action once and then tell Photoshop to repeat this set of tasks for you. This will cut down yourworking time and save you from getting really bored!
At the moment I’m doing a lot of animation with Photoshop and a really common but repetitive task is to make something rotate on its axis. So I’m going to make a simple Action to do this for me.
Lets begin!
Step 1
Open a new document and draw something that isn’t symmetrical – this will help us to see that our rotation has completed a full rotation, this is just to create the Action.

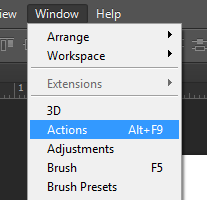
Step 2
On the menu bar click on > Window >Actions
This will open up the Action tool. Click on the ‘New Action’ icon
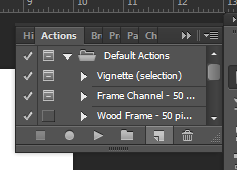
Step 3
A dialog box will appear and name your new Action something memorable and descriptive, then hit Record. Once you’ve pressed record a circular icon will turn red.

Note: Everything you do from now on will be recorded as part of your Action, so its good to have a clear plan of what you want to achieve.
We’re going to rotate something that will eventually be animated so we want to firstly rotate it by X degrees and then make a new layer for the next rotation and so on because we want to have each progressive rotation in a new frame.
So here we go…
Step 4
Go to > Edit > Transform > Rotate in the menu bar.

You’ll see the controls appear at the top, the one we’re interested in is this one:
![]()
I’ve chosen to rotate by 10 degrees each time for this example, but its up to you. Remember that for a smoother animation more frames is better. You’ll see your image rotate.
Then apply the rotation by hitting Enter.
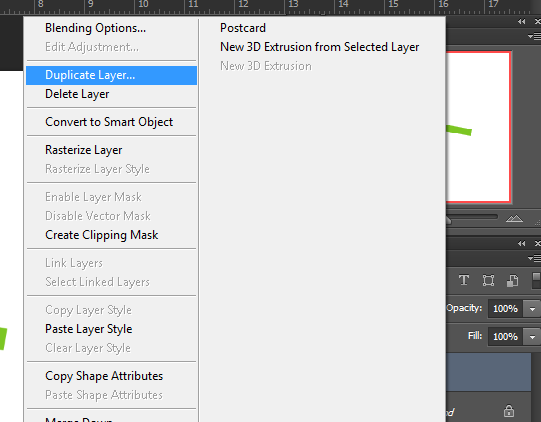
Now we will duplicate the layer by right clicking on the layer in the layer palette and selecting Duplicate Layer.
Step 5
Now repeat the process in step 4 over and over until you’ve completely rotated your image.
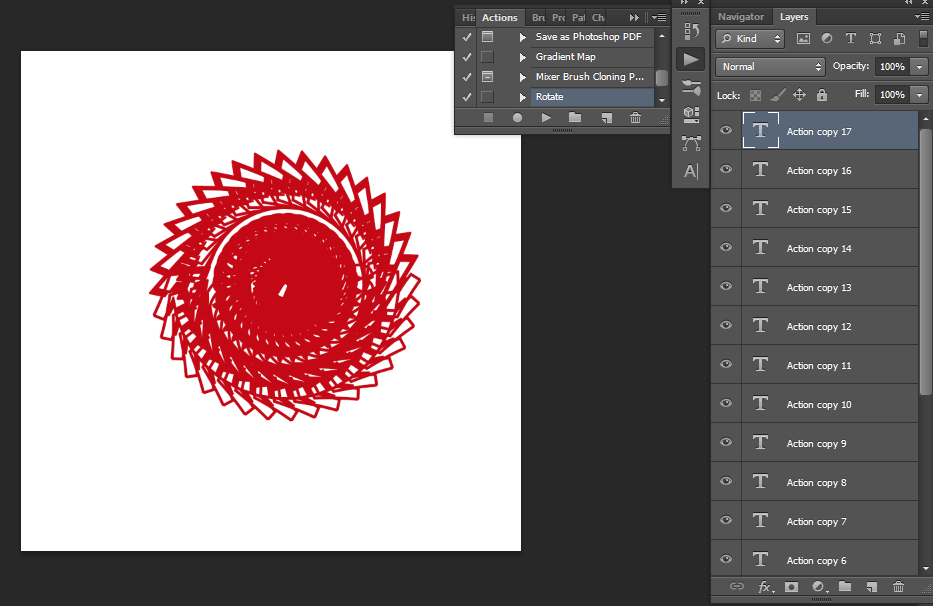
Once you’ve finished you should be left with this:
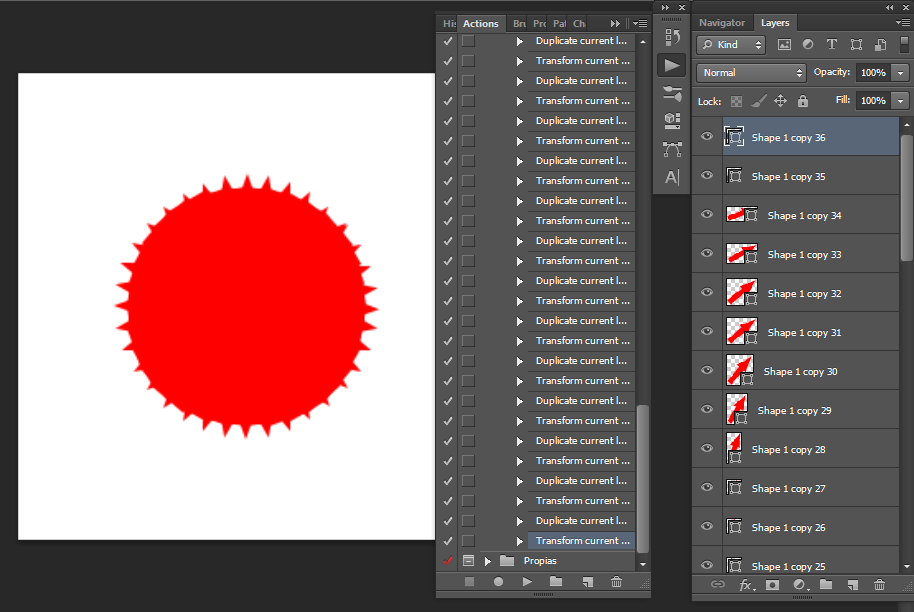
You can see that I’ve got a lot of duplicate layers, a lot of tasks in my Action pallete and what looks like a circle image – this is actually all my layers displayed together.
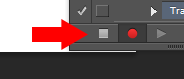
Step 6
Hit the Stop button.
Your action is complete!
Lets test it…
Step 7
Open a new document and draw or write something that you want to animate.
Open the Action window and find your new action then hit the Play button.
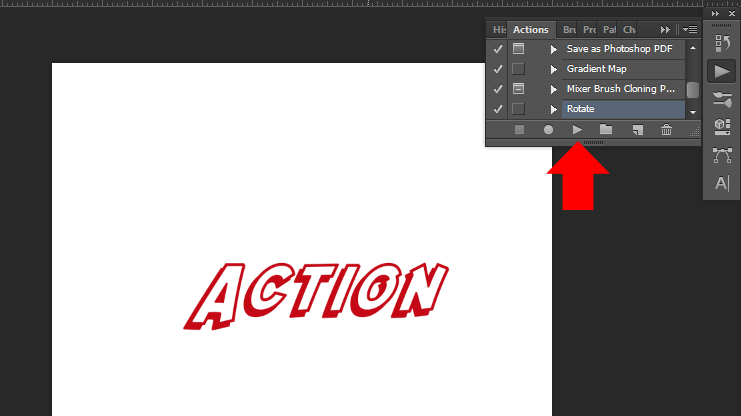
You’ll see Photoshop automatically perform your tasks just as you programed it, let it run until its finished and you’ll be left with this:
Step 8
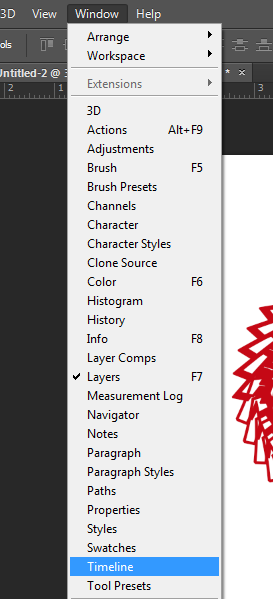
Now its time to animate it!
Go to > Window > Timeline.
This will open Photoshops animation window. We are going to create a frame animation so select this by clicking the little triangle.
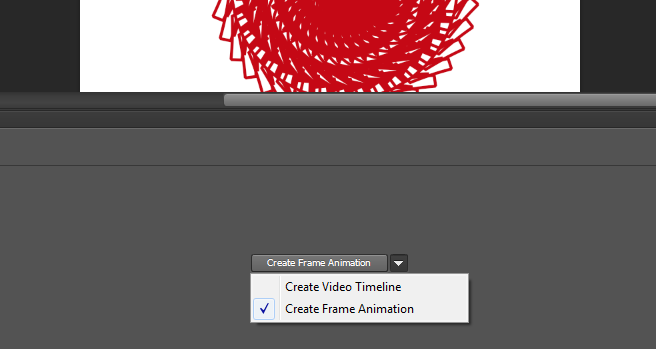
You will now see a little frame at the bottom of the screen. Next click on the menu option tab on the right:
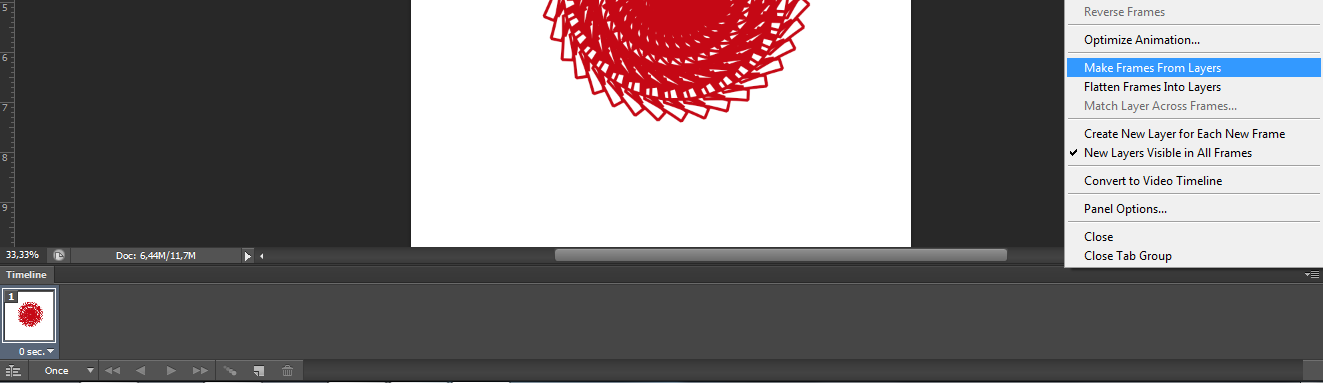
Select Make Frames From Layers.
You will now see every layer of your image in a new frame:
![]()
Hit the Play button to see it spin.
Step 9
To save the animation as a gif go to > File > Save for Web
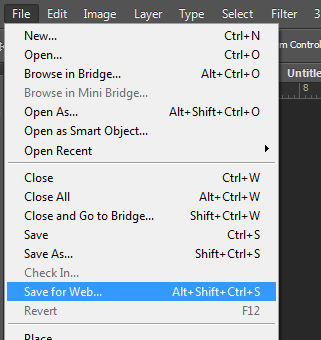
This will open a new window.
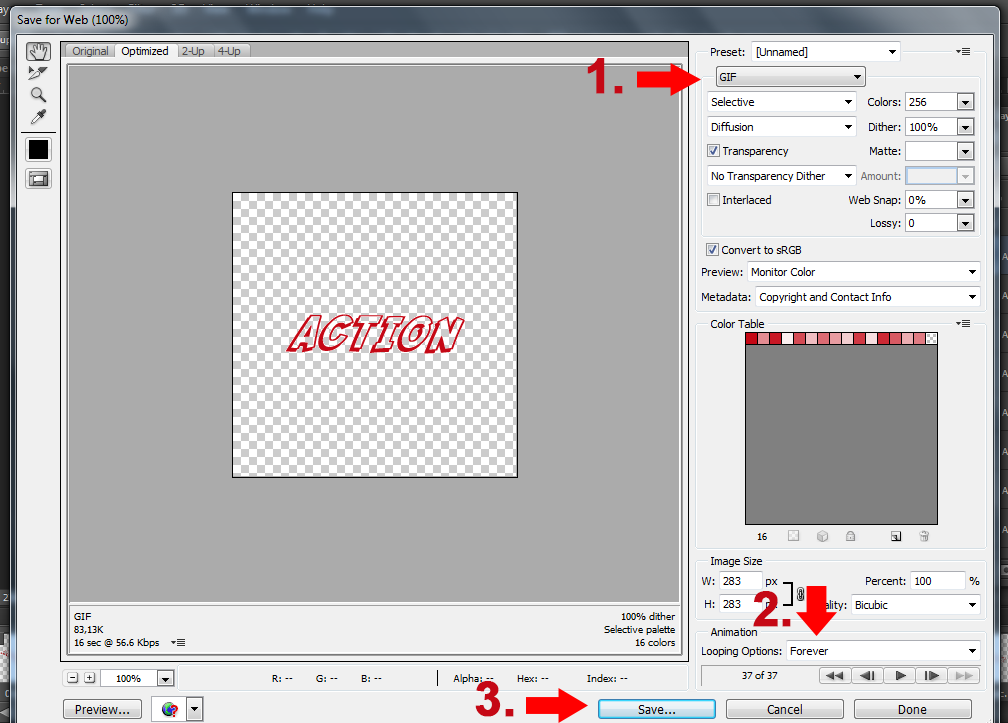
1. Choose GIF
2. Choose ‘Forever’ if you want your animation to loop
3. Hit Save and name your file.
Step 10
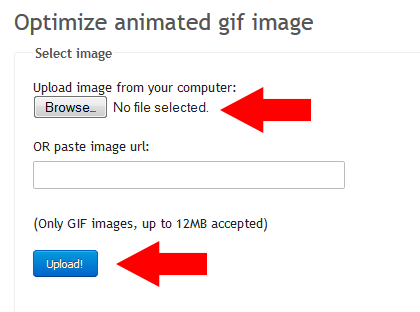
Now its time to optimize our gif, you can do this in Photoshop, but I prefer to use this free online service: www.ezgif.com
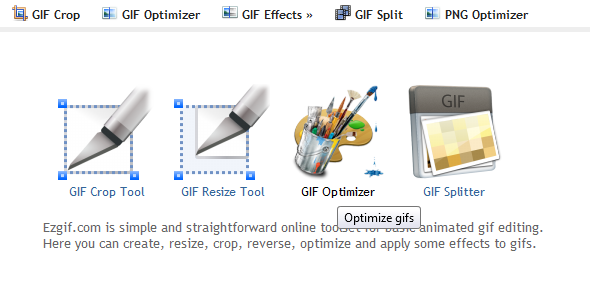
Choose GIF Optimizer and upload your file
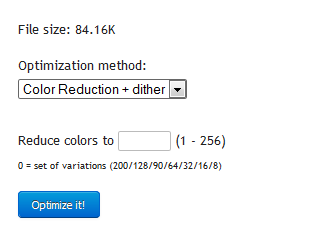
My personal choice is to use ‘Gifsicle Level 2’ then hit Optimize It!
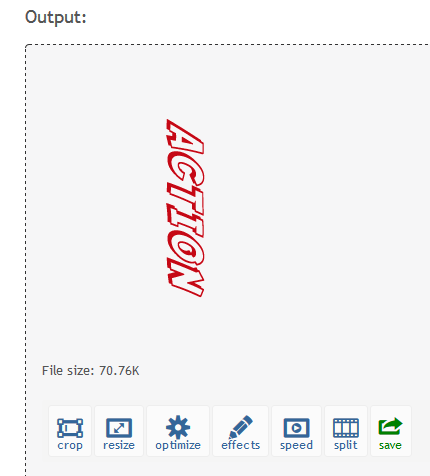
You will see your gif in the ‘Output’ window below.
You can then change the speed or perform some other changes if you wish, otherwise just hit save and you’re done!
Here’s my finished gif: