How to make custom shapes with Photoshop.
As with most tools in Photoshop there are a number of pre-installed shapes at your disposal and it’s very easy to make your own.
The custom shapes tool is where Photoshop meets Illustrator as the shapes are actually vectors, meaning that you have the ability to rescale them to any size you like without loss of definition or clarity.
All shapes are basically silhouettes, so we will end up with a solid scalable vector shape.
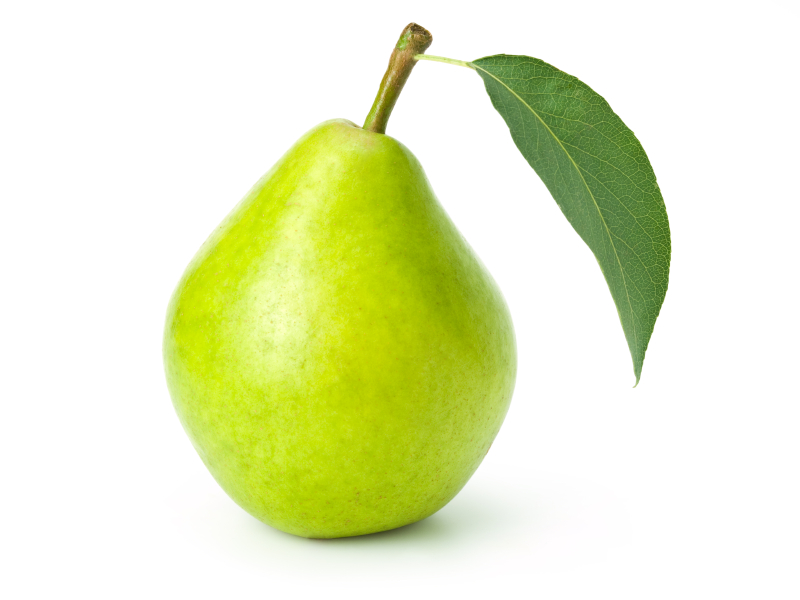
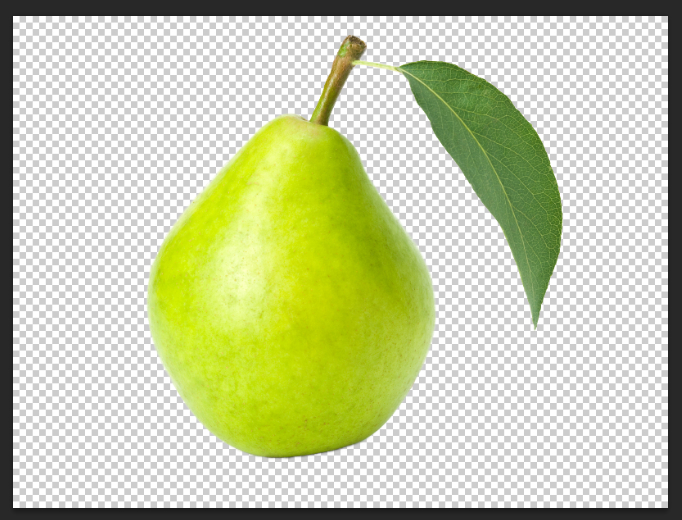
Lets make a custom shape from a color image.
I’m using this one, but we have to do a little work beforehand to remove the background. Just right click the image and select Save Image As…
Step One.
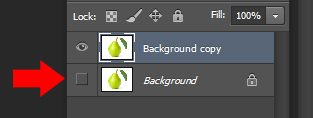
Open your image and duplicate the layer by right clicking on the layer in the layer panel
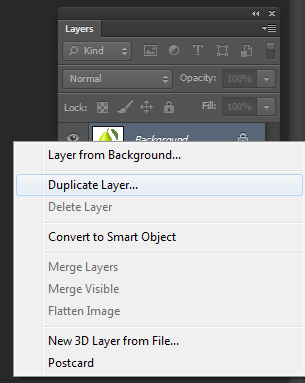
A dialog box will appear and click OK.
Turn off the visibility of the original layer by clicking the Eye icon to the left of the layer thumbnail image.
Step Two.
Select the Quick selection tool in the tools pallete.
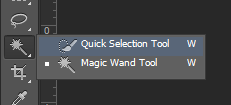
The settings for the tool should be as follows:

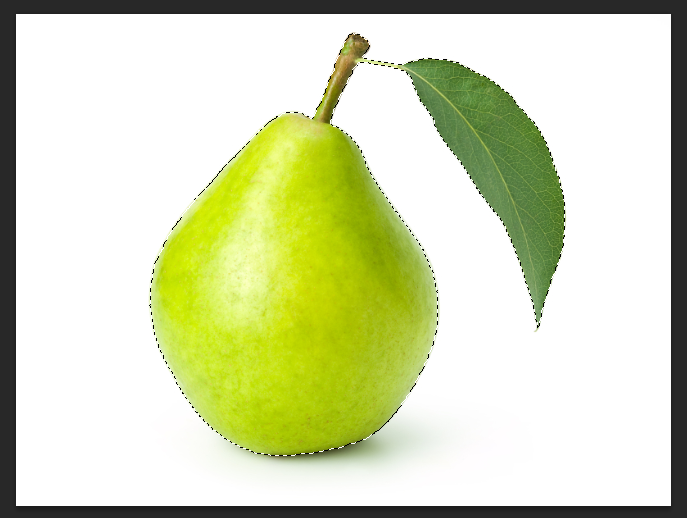
Click in the middle of the pear and you’ll see a selection appear with “Marching Ants”.
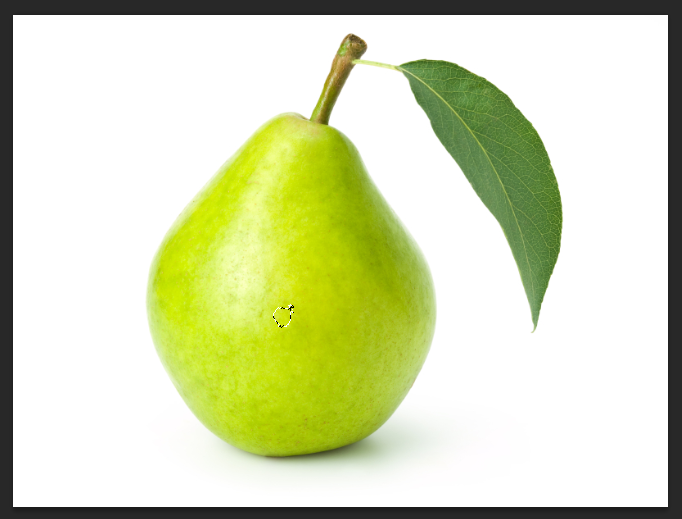
Continue drawing over the pear and you’ll see the selection grow

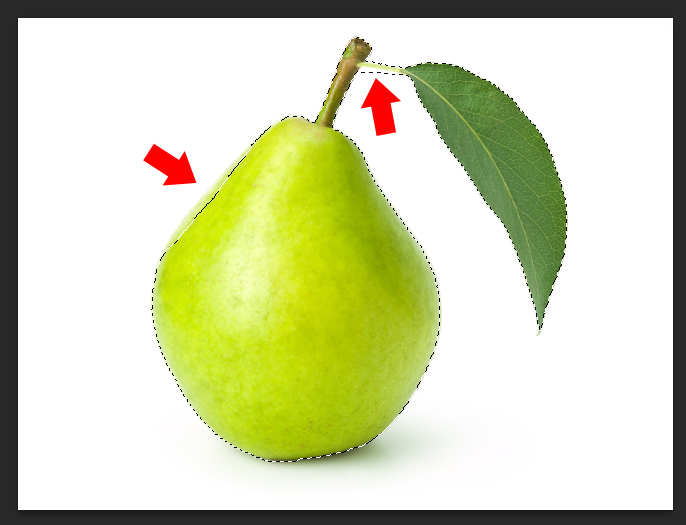
Move over to the leaf and do the same. Once the pear and leaf are selected its time to select the smaller pieces, to do this reduce the brush size down to about 10px and select the rest. You can see that we still have a little finetuning to do.
Zoom in to the area where you you will work and select the “brush- icon”
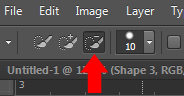
carefully draw on the white background to reduce the size of the selection.
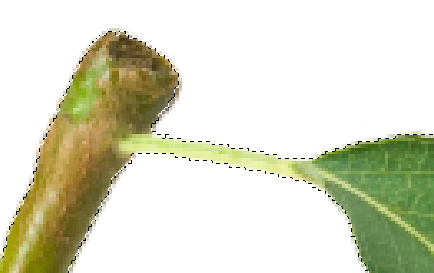
If you select too much just switch back to the “brush+ icon”. It is worth taking your time to make sure your selection is as good as possible in order to make the best shape. When its all selected it should look like this
Step Three.
Now go to the menu bar and >Select >Inverse
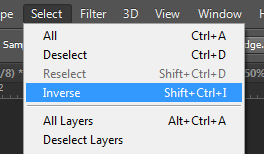
and hit Ctrl X to cut away the background.
Our pear is now accurately and precisely seperated from the background.
Step Four.
We’re now ready to make our Custom Shape!
Hover over the layer thumbnail image and hit Ctrl and click. This will select all the pixels on the layer.
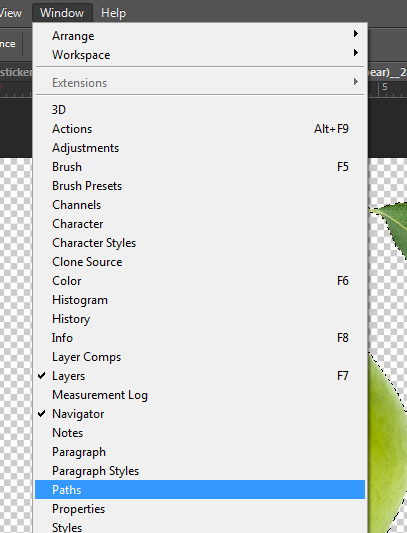
Now go up to the menu bar and select > Window > Paths
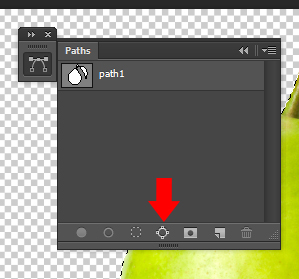
The Paths window will open and select the “Make work path from selection” icon
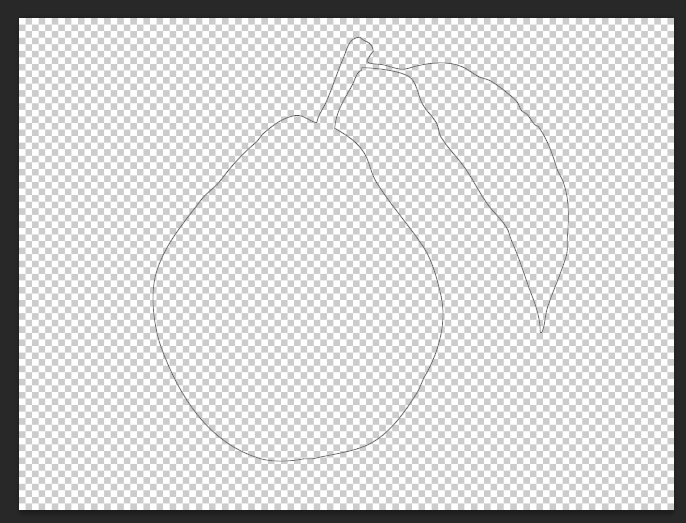
Hide the visible layer by clicking the “Eye” icon next to the thumbnail in the layer pallete and you’ll see the path you’ve just made.
Step Five.
Go to the menu bar and select >Edit >Define Custom Shape.
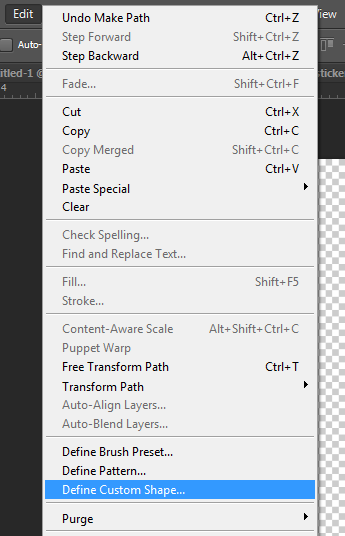
A dialog box will appear, name your shape and hit OK.
You’re Done, now its time to test it.
Step Six.
Open a new document, right click on the Shapes icon in the tools pallette and select Custom shapes.
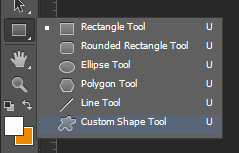
Go to the menu bar and click on the shapes thumbnail to reveal your shapes and find your shape.

Select it and drag your cursor over your image to whatever size you like.
And here’s our finished Custom shape.
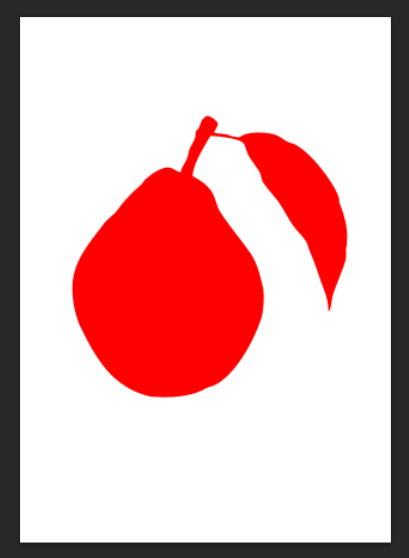
Congratulations… You just made your first Custom Shape!