In the following tutorials I will show you an easy way to create your very own custom brushes, shapes and patterns in Photoshop.
Photoshop comes with a pretty useful array of pre-installed brushes, shapes and patterns but what if you can’t find exactly what you need?
The solution is to make your own and its not as hard as you may think!
Lets start with brushes.


A brush is always pixel based, meaning that it will lose its definition and become blurry when enlarged too much. Therefore it’s a good idea when making your brush to have a clear idea of the average size you’ll need it to be. There are two ways to this, first by drawing our brush freehand and secondly by importing an image and turning it into a brush.
So, with that said lets get going on the first option…
Step One.
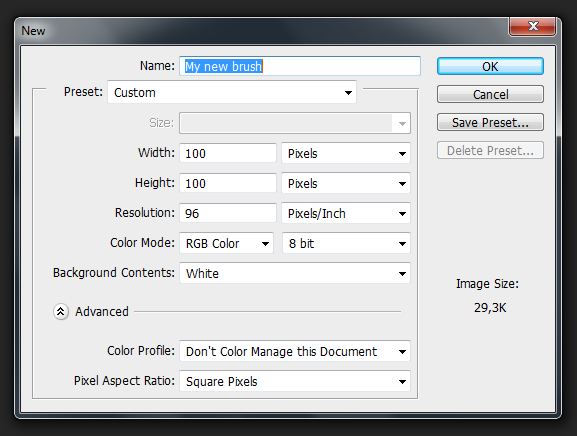
Open a new document and make sure you set it to have a white background. For this example I’ve chosen 100px x 100px.
Step Two.
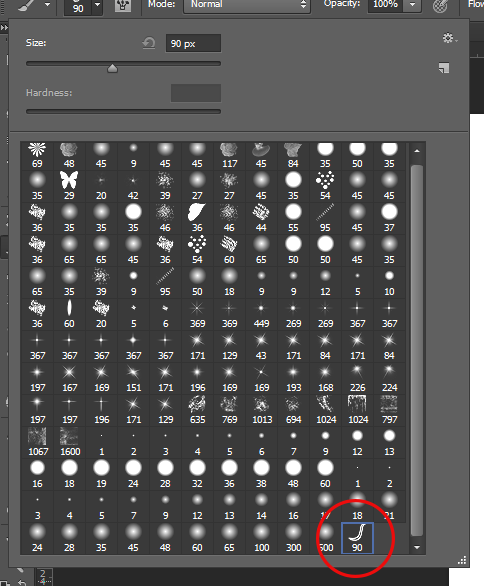
We’re going to draw our new brush so select a suitable brush from the brush pallete.

I’ve used a 5px 100% hard round brush here. If you’re using a pre CS5 version you will need to make sure that you’re drawing in black as all brushes must be created in greyscale. Anything black will be solid, white will be invisible and shades of grey in between will be shaded. To easily set your background and foreground colors to black and white just click here:

or just press the letter D on your keyboard to reset the colors to default.
Step Three.
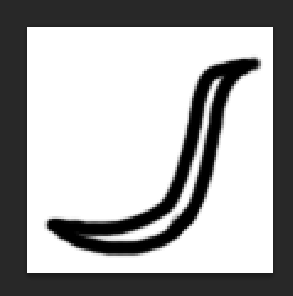
Draw whatever you want.
Step Four: The magic bit!
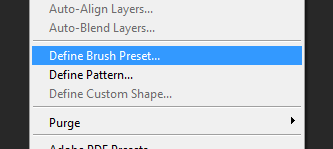
To create our brush we go up to >Edit >Define Brush Preset…
A dialog box will appear and ask you to name your brush, name it whatever you want.
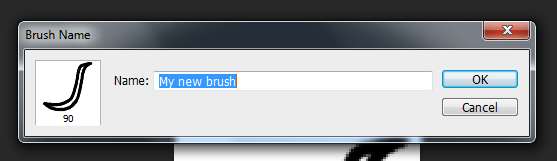
Click OK . Close your document and congratulations… you’re done!
Step Five.
To find you newly created brush simply click on Brushes and scroll to find your brush.
Open a new document and draw!

OPTION TWO:
As I explained earlier you can easily make a brush out of pretty much anything, so lets try.
Step One.
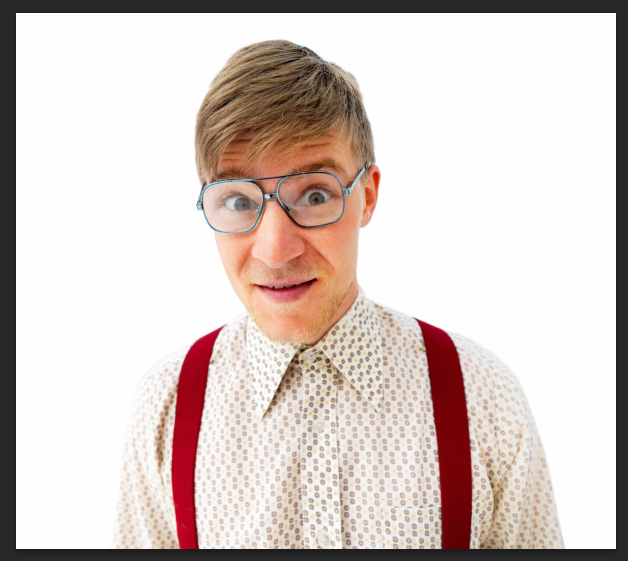
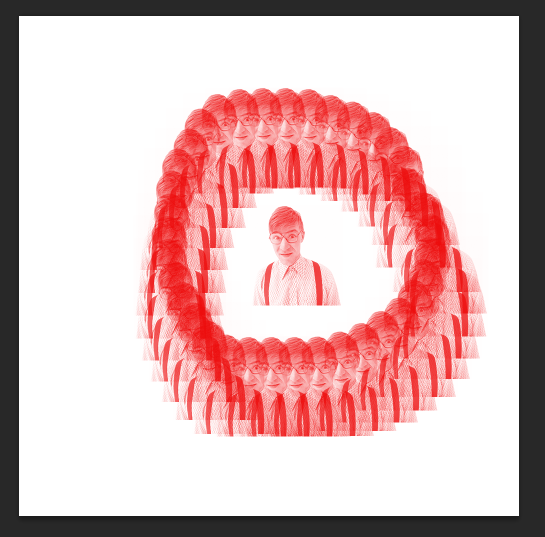
Grab an image that you want to use. Its best if the image is isolated on a white background, here’s what I’m going to use:
This image is pretty big so I’m going to resize it to something bit more manageable. First we will crop the image to get rid of the unused space. To do this go the Crop icon on your toolbar

I’m using Photoshop CS6 so your cropping tool may look different if you’re using an earlier version. Crop your image to the size you need.
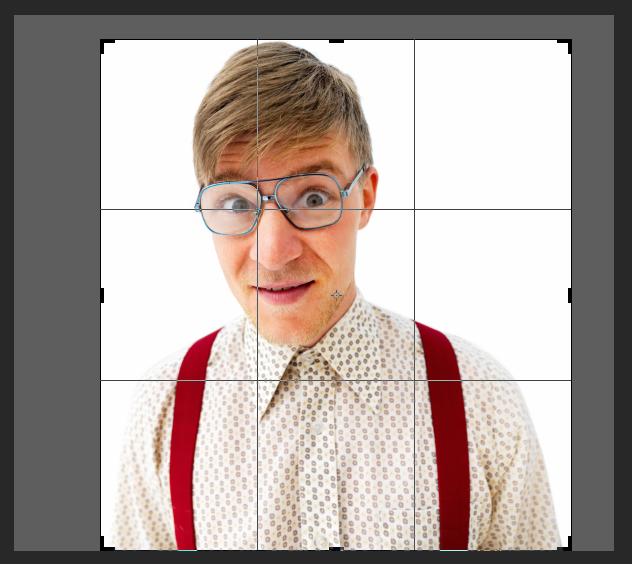
Hit Enter and its cropped.
Step Two.
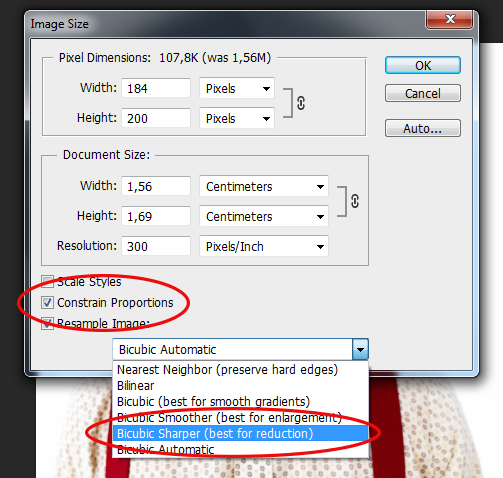
To resize the image go up to >Image > Image Size.
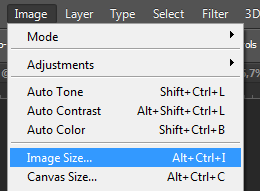
My image is presently 708 x 768px, this is a bit too big for me so I’ll reduce it to a height of 200px, but I want to keep the aspect ratio the same so this is what I need to do:
Make sure that the “Constrain Proportions” box is ticked and enter your desired height. Next we need to ensure that the resize is the best quality so click on the dropdown menu and select Bicubic Sharper (Best for reduction).
Step Three.
From now on it is the same procedure as before. Go up to >Edit >Define Brush Preset and hit OK. Locate your new brush and get drawing!
I hope you found this tutorial useful and that it helps you get more out of Photoshop.